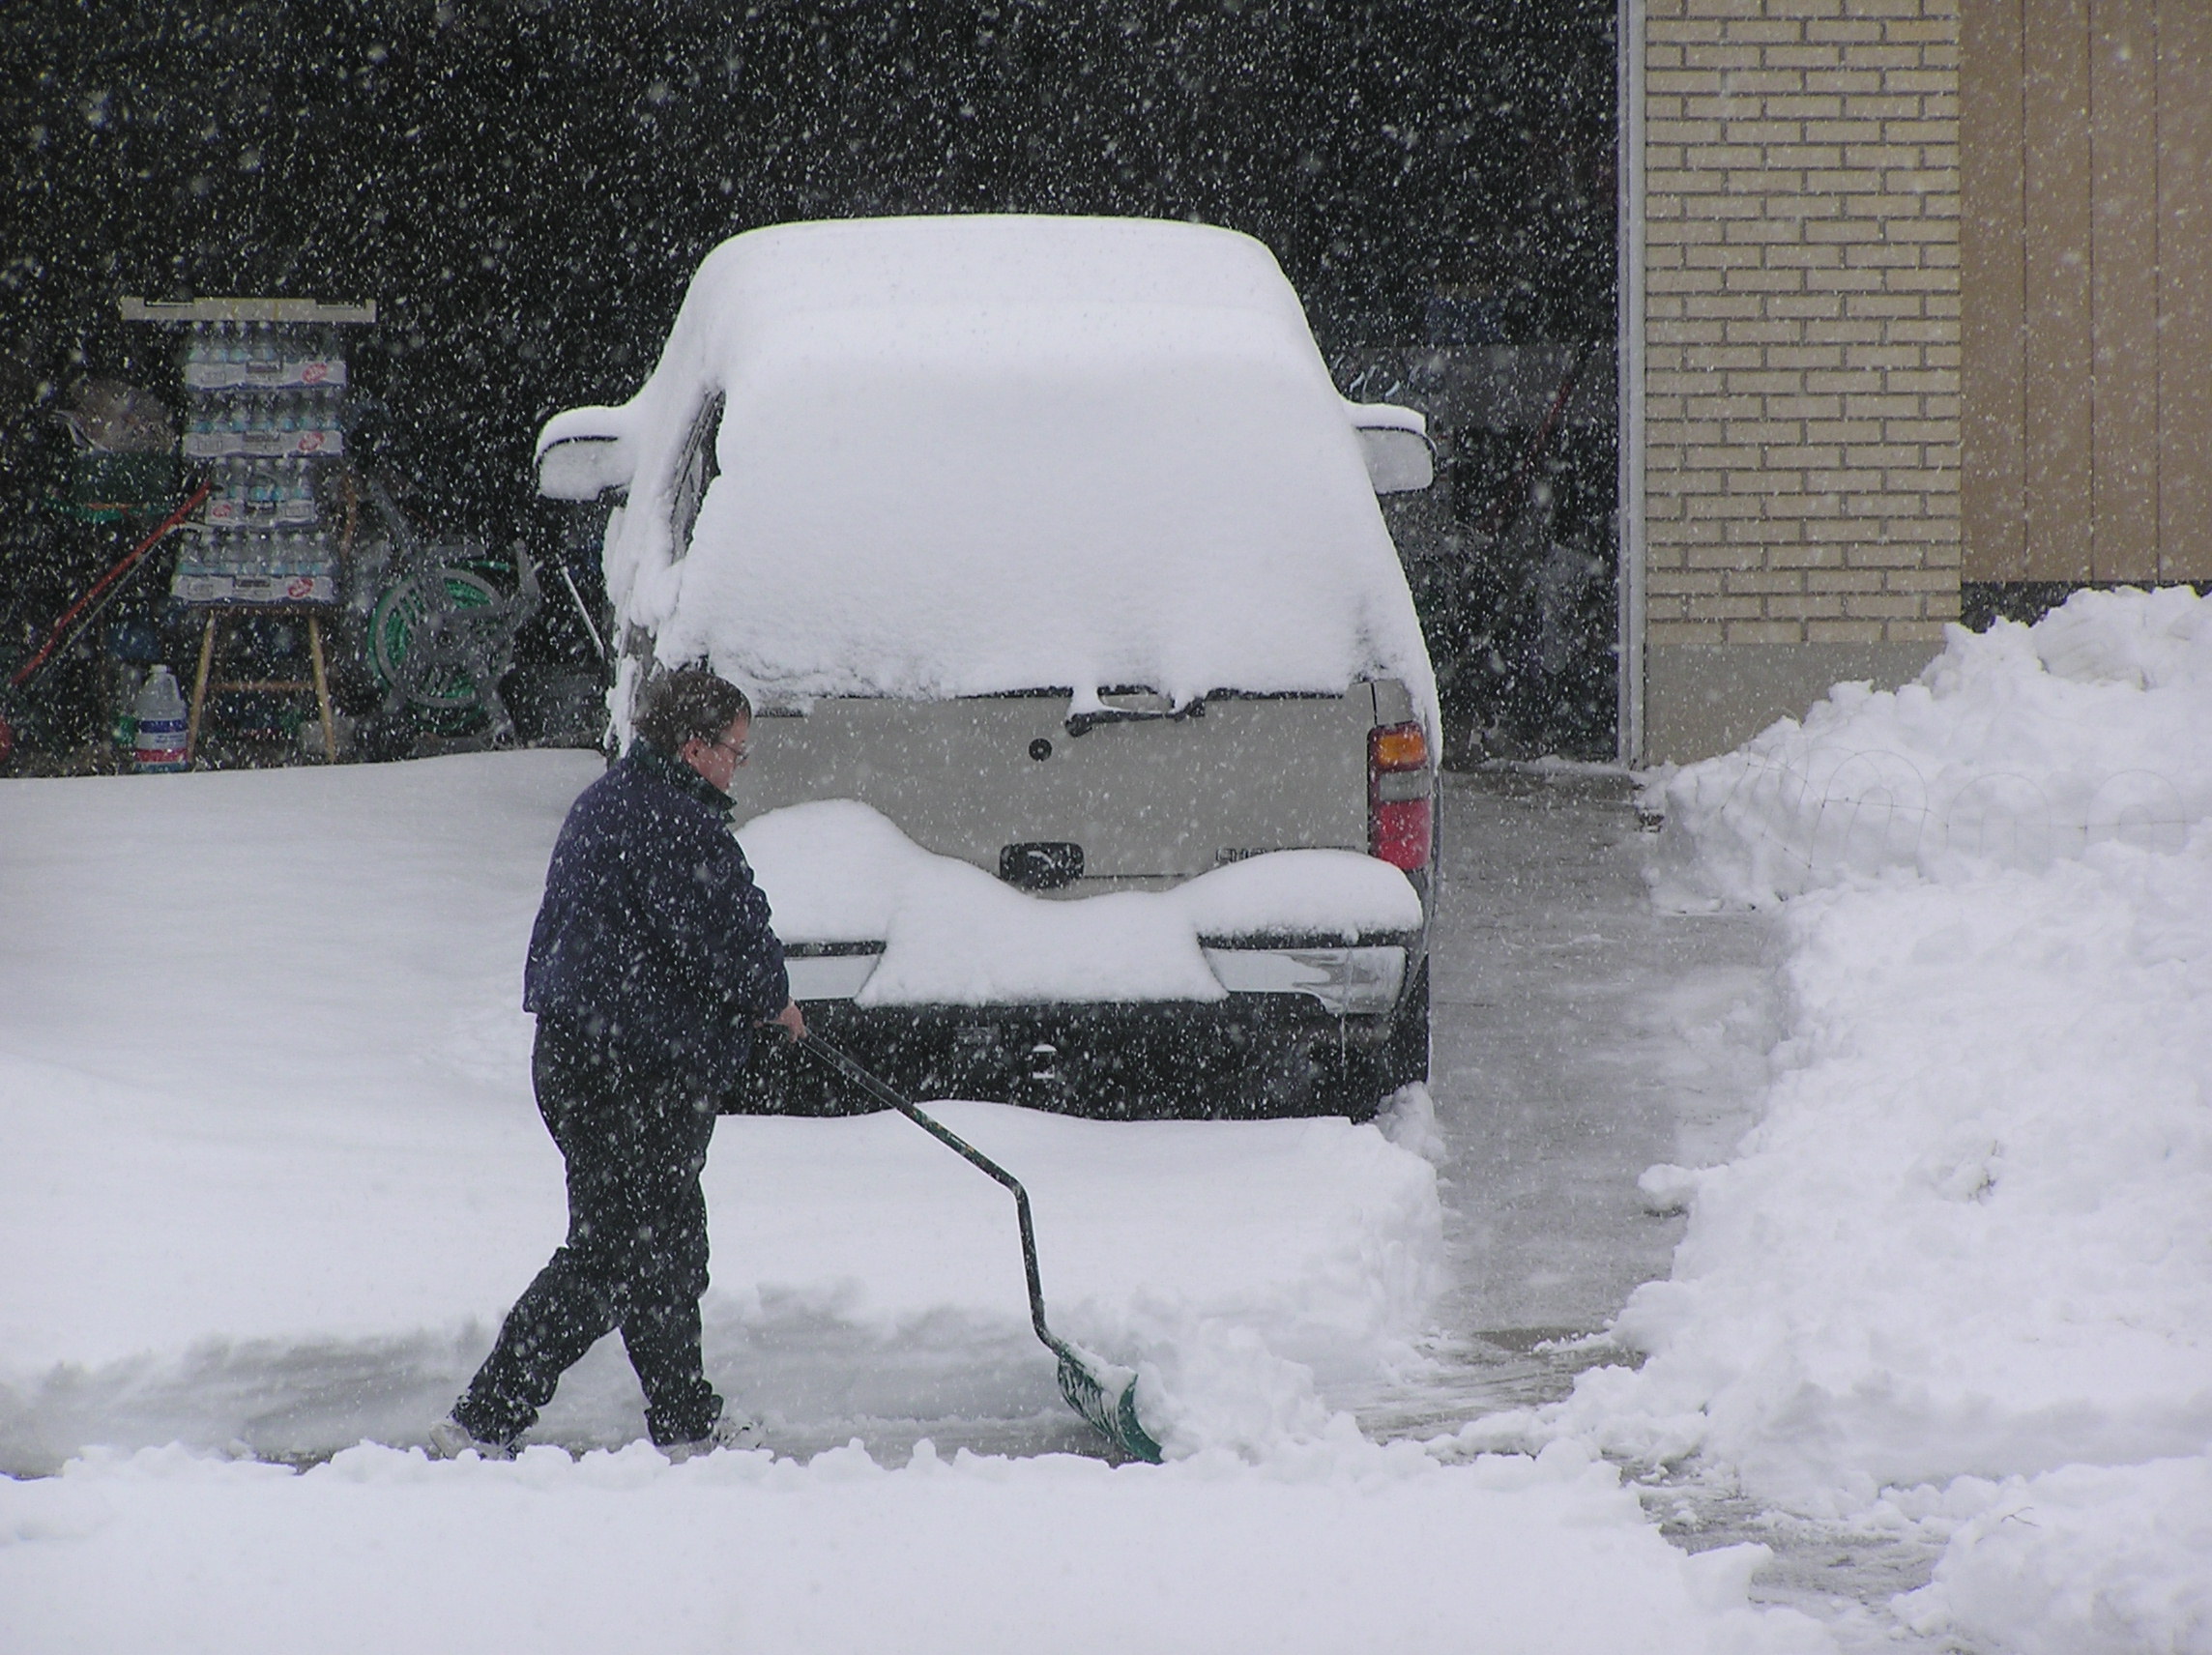
Did you know that you burn approximately 300 calories while shovelling snow? It’s not a light workout! As with any vigorous exercise, it’s important to warm up before and after. The exercises listed below will help keep you limber and ready to shovel!
(Book a Jiffy pro to come remove the snow for you and avoid the pain caused by shovelling!)
Make sure you check with your doctor to make sure this kind of vigorous exercise is OK for you to do. If you’re over 55, there’s a risk of heart attack, and no matter your age, if you’re not physically prepared you can suffer from back pain, sore muscles, and a number of other issues.
Here are the 5 warm up exercises and stretches you should do before you head out to your driveway to shovel the snow this winter:
1. Squats - Lift with your legs, not with your back. This popular exercise will help you gain strength in your legs that will help with this. Stand with your feet hip width apart and keep all of your weight in your heels. Squat down as far as you can go while keeping your upper body as upright as possible. As soon as you start to bend over at the waist - stand back up. Make sure you keep your abdominals flexed throughout this exercise.
2. High knees - This will get your legs warmed up and ready for movement. Just march in place, bringing your knees as high as you can.
3. Arm circles - Shovelling is a strain on your arms and shoulders. This exercise will help you strengthen your arms so you can lift that heavy snow. Hold your arms out to the side and rotate them forward in small circles. After about 20 rotations forward, do 20 rotations backwards.
4. Neck stretches - During the winter months we tend to shrug up our shoulders, which tenses the neck. This will help you loosen those muscles. Put your right hand on the top of your head and use the weight of your arm to pull your head towards the right shoulder. Don’t force it, it should be a gentle pull. Do the same on the left side.
5. Torso rotation - A strong core will help with your shovelling. Warm up your core by rotating your torso from the left to the right. This should be a controlled motion - don’t let your arms flop around and don’t use momentum to swing your body in one direction and then the other.
And then, once you’re done, here’s 5 stretches to help you loosen up after you’re done clearing the snow. These will help make you less sore the day after, just in case you need to get back out there after another snowfall.
1. Neck stretches - Repeat the above exercise.
2. Eagle Arms - Wrap your arms around each other so your palms face each other push your arms up and your hands out - you’ll feel this stretch in your upper back. Switch which arm is on top to even out the stretch.
3. Cat & Cow - Get down on your hands and knees. Round your back up like a cat and hold, then arch your back and hold. Repeat several times.
4. Quad stretch - Grab onto your ankle behind your back and push your hip forward. Repeat with the other leg.
5. Hamstring stretch - Stand with your legs hip width apart, bend over at the waist with straight legs, grab onto opposite elbows and dangle - you should feel this in the back of your legs.
Of course, the easiest way to save your back and muscles from the pains of shovelling is to order Jiffy to remove your snow for you!
Stay inside, use Jiffy, and only spend $50 to have a two car driveway and your sidewalks cleared.
You might also be interested in:
Shovelling 101: Prevent Injury This Winter


